Your teachers need access to tools that make their day smoother and more efficient, right?
Explore our latest video series showcasing the Teacher’s Portal, designed to streamline every aspect of classroom management. From tracking attendance and managing class schedules to handling assignments and quizzes, this portal has it all. Our videos guide you through each feature, making it easy for teachers to stay organized and connected with students and parents. Plus, for those who prefer reading, a transcript is available for download.
Don’t miss out on this essential resource—watch now to empower your teachers with the tools they need for success!
Transcript
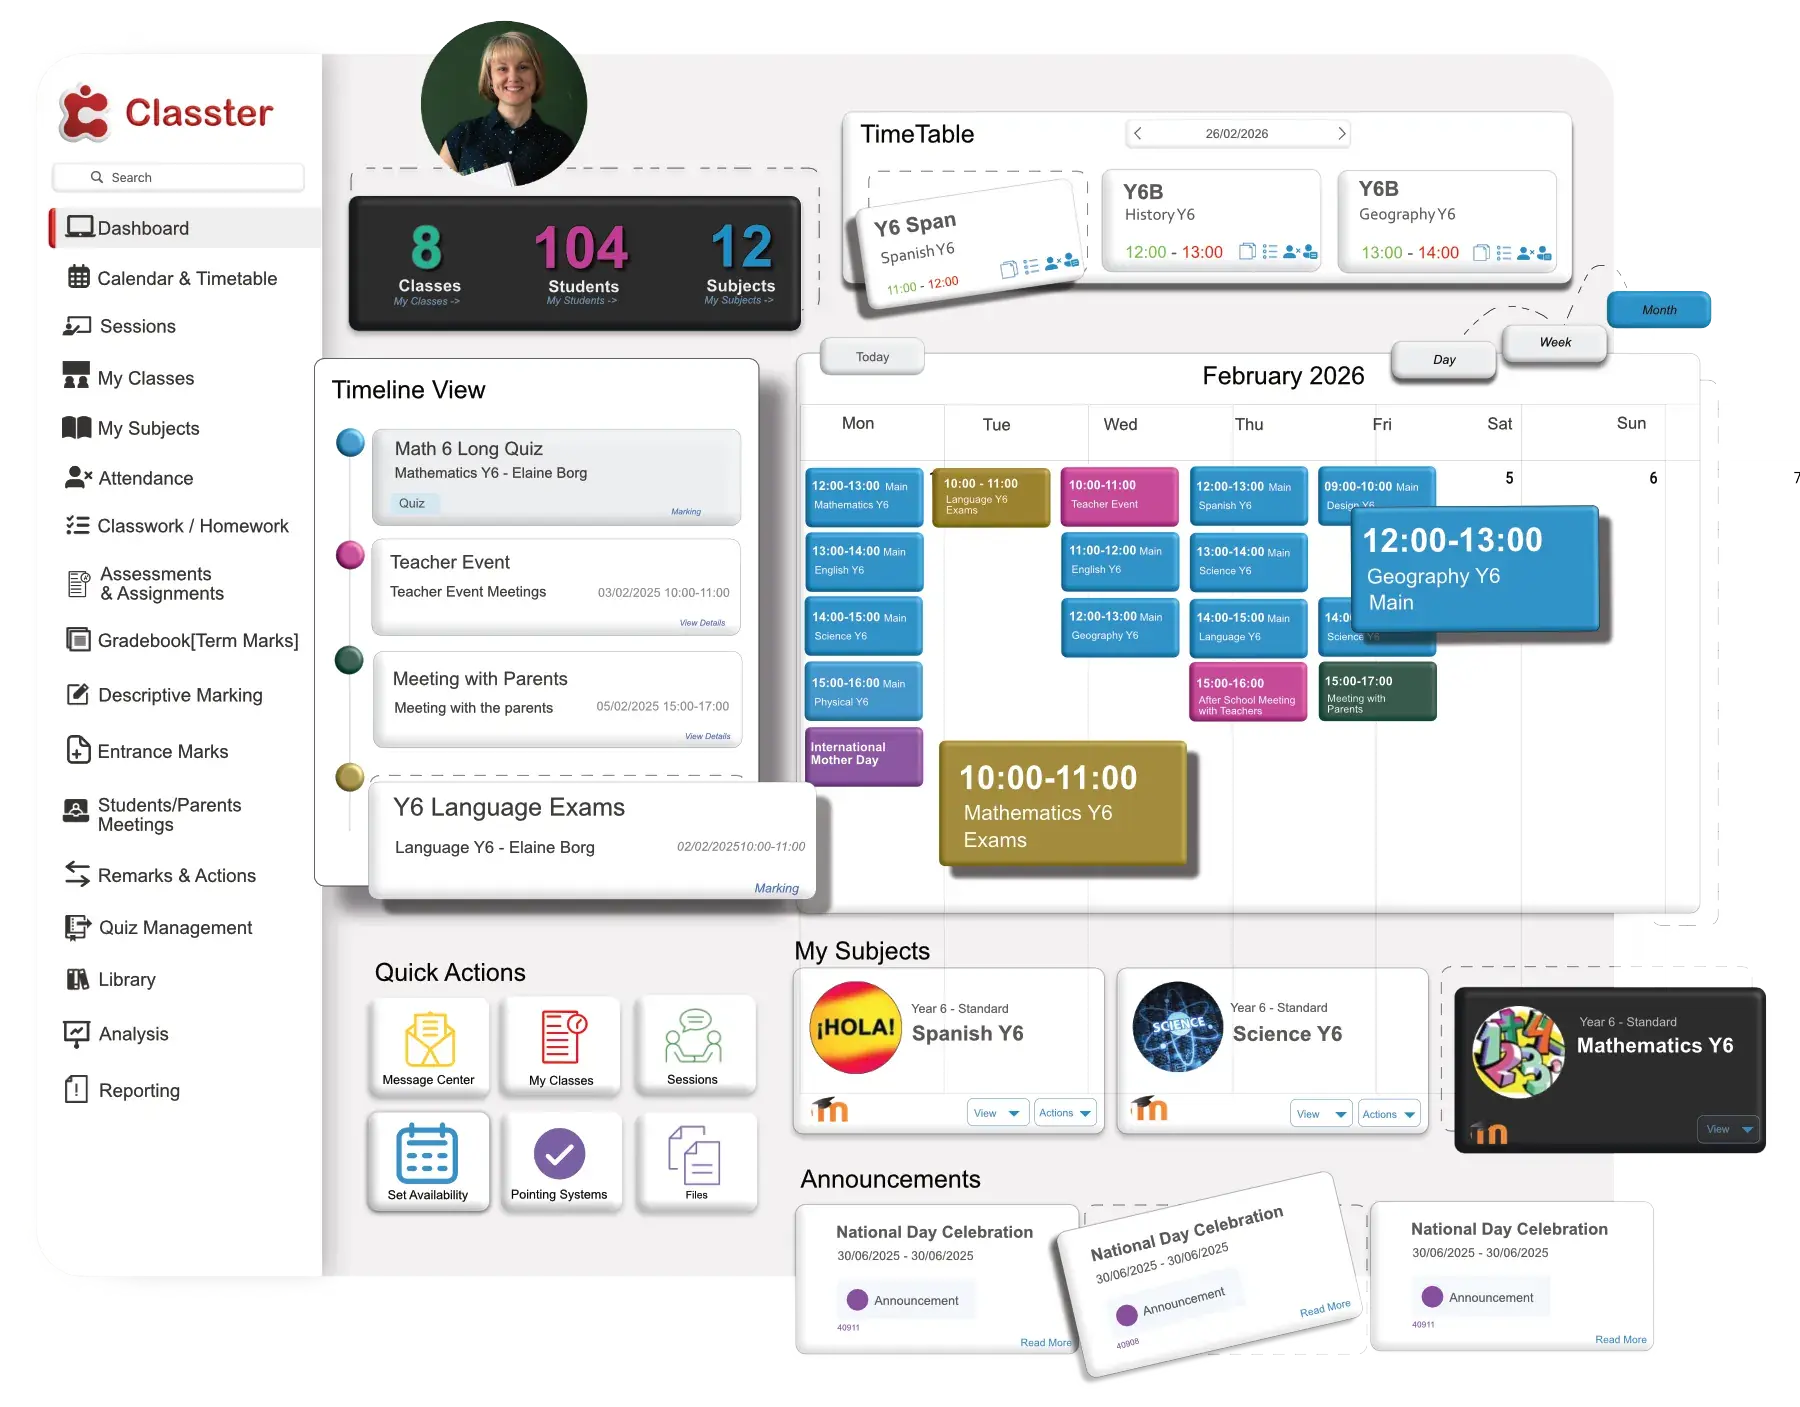
00:00 Hello everyone. Today we will take a quick look at the teacher’s portal. Let’s get started. Once you have logged in to your account, you will find yourself looking at the initial page that is entitled Asport, which includes several key features.
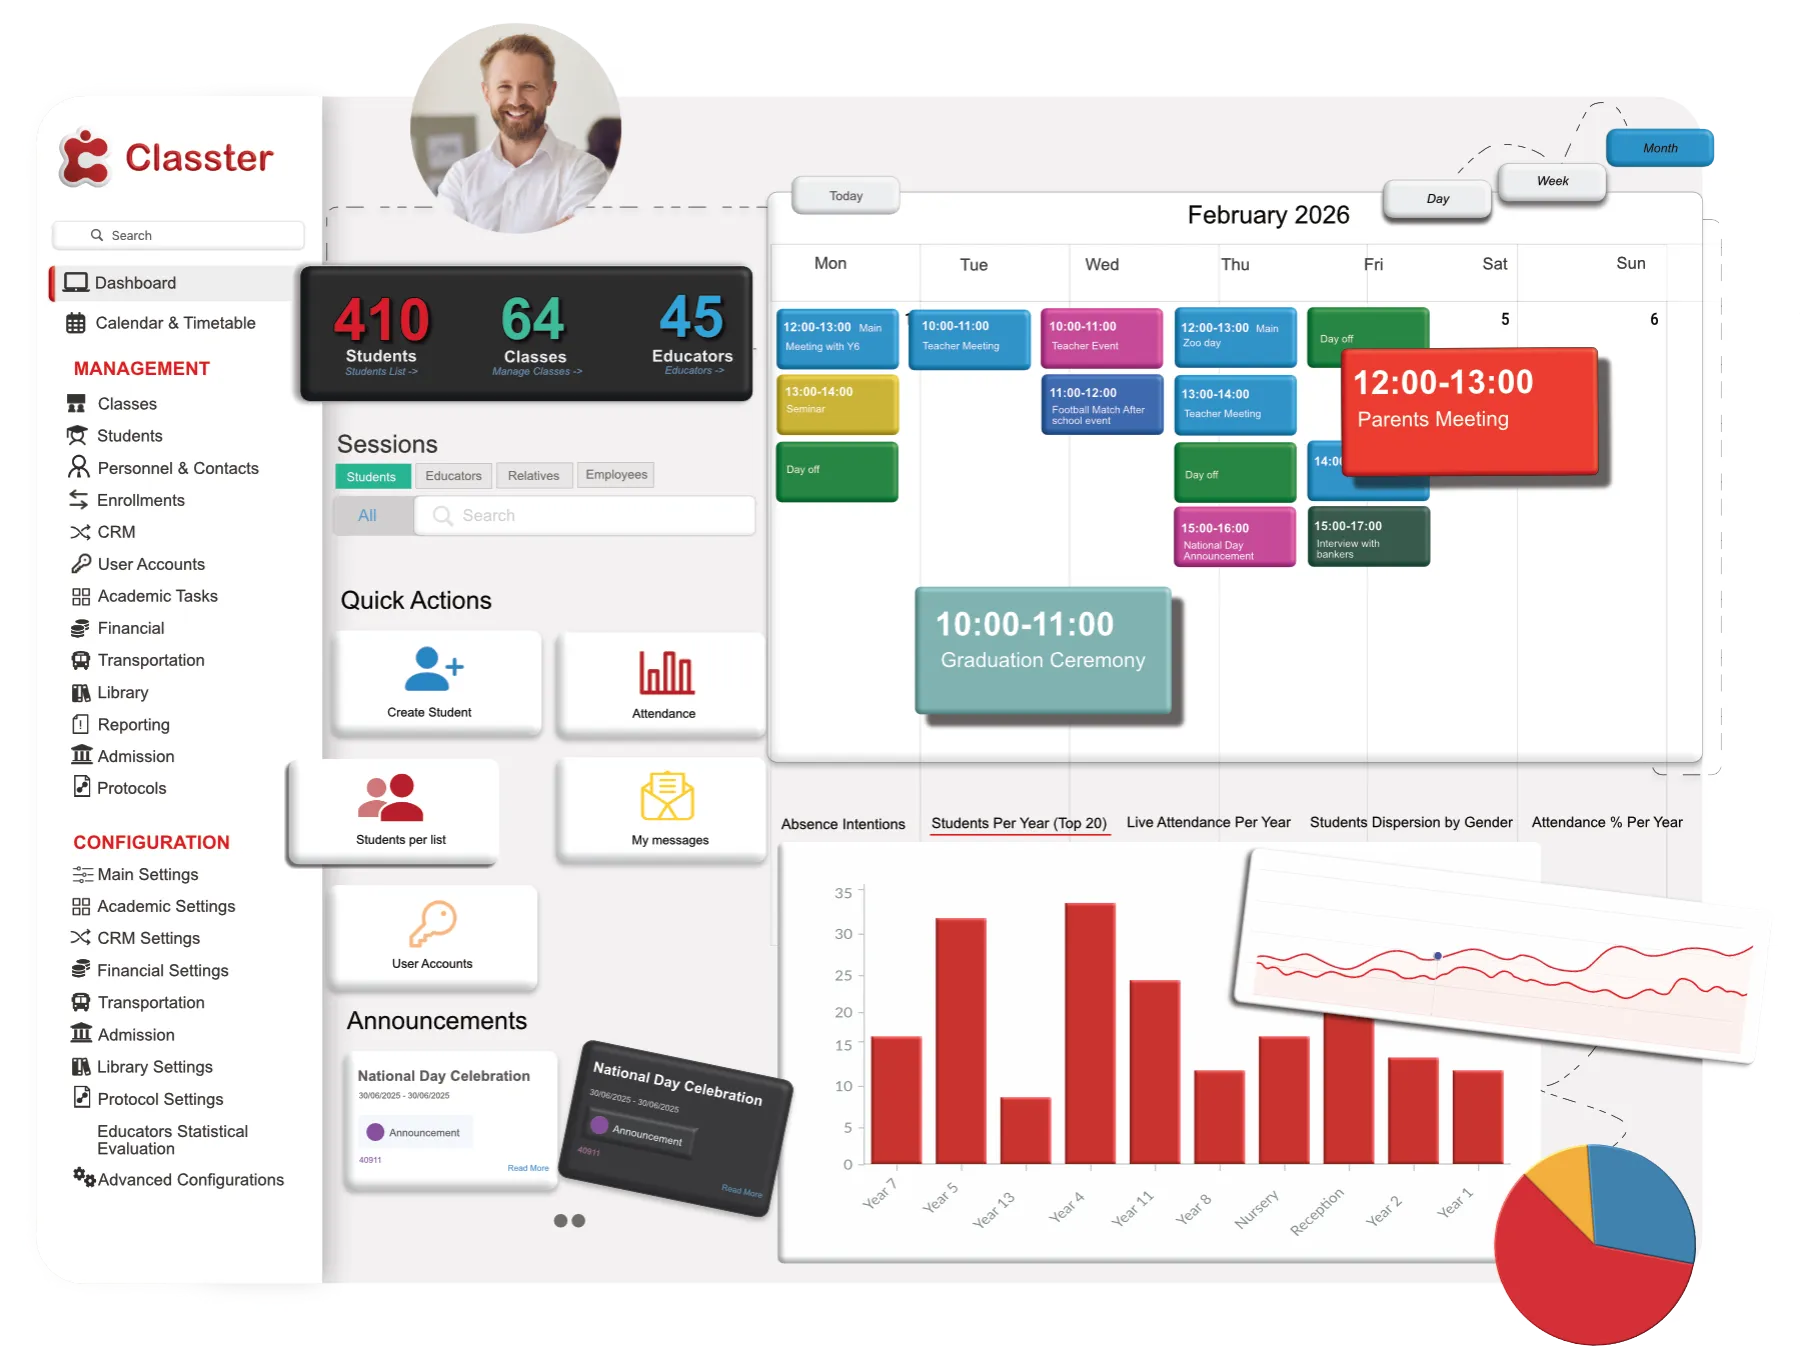
00:18 It displays the number of groups, students, and subgroups. It also that you teach. You can find all these up here.
00:24 Additionally, there is a timetable that shows messages about new emails, announcements, assignments, and reminders for students or teacher’s birthday. For example, here we can find the birthday notification.
00:41 Events are also highlighted to the calendar on the right side of the page. Here we can see the timetable. You can see these events daily, weekly, or monthly.
00:55 There is also a quick action menu down here. The menu bar is conveniently located in the left side for of the page for easy navigation.
01:07 Then we have the calendar and timetable section. The calendar presents events, meetings, or other academic tasks for specific dates or periods.
01:19 You can select to view the calendar by month, week, or day. Here to my calendar section you will be able to see the timetable sessions as well as the various scheduled institutional events.
01:38 If you click on a calendar entry which is part of the timetable you will view a smaller window with the name of the subject, class name, and timetable period.
01:49 For example here we have mathematics year six. We can see the day and time that it starts and ends. The timetable right here presents the teacher’s weekly school schedule.
02:08 This is the static and default timetable we could say that you will follow during the academic year unless any changes occur of course.
02:20 You can also select the list of locations you want to see. Here we have all locations for our example, but you can also choose only middle school for example.
02:32 Here. You can also print your table out if you want. It will be in a format like this. Then we have the manage events tab.
02:50 In this menu you can add and manage your events and announcements. An event is a meeting or an event where you can invite students, parents, teachers or employees.
03:02 All events are present presented to participants in their in their calendar. You can choose to view the events for a specific time period such as for today or for the entire academic period.
03:16 Here for example we have academic period and we can see all the events of the academic period. For example here we have a party, we can see the date and time.
03:31 You can also create your event from here or create an announcement from up here. If you click on create an event you can choose the event category, if it is an after-school event, if it’s a graduation ceremony or anything else.
03:52 You can choose if it is an online event or not. You can write about some information. And you can add the participants you want to come.
04:07 Then we have the session section. Here we can choose again a range. Here we have this week and this You can also choose a group, a specific group if you want or a specific subject.
04:24 Here we have all because we have all here. Using the daily sessions you can record various data and perform specific actions related to a subject.
04:41 Create a new session, assign a group and a subject, and add information like which chapters you are teaching, the bibliography used, files, digital material, and other things like that.
04:55 You can also take numerous sections such as daily evaluation, task assignment, questionnaires, and absences record. That way you can have an overall picture of each of your sessions.
05:10 Here for example, you can choose the mathematics of year 6. And you can have an overall picture of all these actions we said before.
05:25 For example, the attendance, the session marking, the academic progress, and all this. Then we are going to my groups. To view details of the group you are teaching at, select the name of the group from the list.
05:46 For example, let’s choose year 6b here. We can see that there are 8 educators. At this year, you can see the year.
06:02 You can also see how many students are enrolled in year 6b. You can see students’ contact details, attendance points, badges, thumbs-up, assessments, etc.
06:15 In comparison to the marks of the group for every class, the student belongs to. Here, for example, we have the children.
06:27 You can see their academic progress. You can also see a lot more things from all these tabs here. Then we have My Students.
06:40 In My Students section, you can see all your students and their personal and academic information. You can see all your students for or search by location or by student name.
06:53 For example, you can search for your students in high school only. Or in middle school only. Then we have My Subjects.
07:13 Here you can use the filters to see the subjects that you are teaching, supervising or you are a second supervisor and select enrollment status.
07:26 You can also use the search field in the filters to locate the specific subject. You can view or edit the selected subjects info or lesson planning.
07:36 Here we have no filters so all the subjects are here. So here you can choose only the lessons that you teach.
07:51 If you take English year 6 for example, you can see about subject here, subject planning right here Thank all for being here.
08:12 And you can edit all these from the edit button Then we have the attendance tab. You can manage absences for a selected subject of a group on the selected date For example here We have this date 12 of August in this group Year 10B And we have chosen the mathematics group So you can see here the name
08:52 of the child and you can choose if he was absent, late, or otherwise his presence You can also take some notes here if you want Attendance analysis right here here.
09:13 Use this function to get statistics about absences. Select the date and type the status at grade, group, query type, and absences filters from here to have the results you want.
09:29 For example here we have the accommodation period and we don’t choose something else. We have only the students absences. So we can have a list with all the absences right here.
09:45 You can see that some are not excused, some are not. Which absences are excused. And the information like this.
09:59 Then we go to class work and homework section. In this feature you can add class work or homework per class or per student.
10:13 You can filter your homework by date on a seven days range per student or per group in order to assign homework to all your students.
10:24 Here we can see that we have chosen, for example, year 6. We can add the subject we want and the date.
10:36 Here we can see some homework and class work. Here is the class work. Here are some homework. That’s only for Monday.
10:55 You can add the for Tuesday on Wednesday a different uh class work from here from this button. Then we have assessment and assignments.
11:08 From schedule link you can create, manage and mark assessments, exams, assignments or quizzes. Use schedule link to schedule or manage an assessment or an exam or a quiz maybe.
11:23 Here you can choose the range. You can choose by class. The group if you want. And here we have some results.
11:41 Use the class, the subject, the assessment and from to date filters show the assignment based on the search criteria. Then we have the marking feature to mark your student’s assessments or exams or quizzes.
11:58 Use the class group, marking period, subject and assessment type filters to update assessment dropdown list and select the assessment or assignment you want to mark.
12:10 Here we have in group year six, the marking period is the first term, the subject is this one, the assessment is this one, so we can have the results here.
12:40 You can also activate or deactivate the presence button to state that the student was present. present or absent. Enter a mark in the available free text field.
12:53 Here we have uh an uh assessment. We can see that these children were present, this one was absent. And we can see their grade uh right here.
13:15 Then we have the grade book. Term marking is a marking tool that enables teachers to enter marks for a student per marking period.
13:27 You can see here, you can see that you can choose by group again, subject, and the period. We have the descriptive marking.
13:45 Descriptive marking is a marking method used when you do not give numerical marks but descriptive ones. You can see already marks in three ways, per student, per descriptive category, or per marking period.
14:03 For example, here we are per student. We have chosen the year 6 again, Mathematics, and Alfredo for our example. So, he is, uh, I easily understand new concepts.
14:20 You can choose your answer. Here, and you can select the other answers you want. Then you press save and it’s ready for Alfredo.
14:33 You can do the same about the other kids in the same group. We have the Educator. Here you can see all the meetings that have been scheduled for you by admins or parents.
14:54 From the filters area you can select a from to date and meeting type that you want to see. Here we have this week.
15:02 We can choose all meetings. And here. We can see a full list of all the meetings that a teacher have.
15:24 You can also, from the line actions button, you can change the status of a meeting. So if you have completed the specific meeting, you click on set as completed.
15:37 If the meeting was cancelled, then click on the set as cancelled button. Here. You can see, set as completed, set as cancelled.
15:47 You can also reset as scheduled. Then we have the analysis section. You can see statistical information on sessions. We can see session marks, assessment and assignments, and gradebook analysis.
16:16 Here you choose the again from the filters the group, subject and you can see the results. You can see a graph here and you can see a detailed list down here.
16:40 And then we have the quiz management, a very helpful tool for uh for the teachers. In the quiz management section you can create, distribute and manage quizzes or surveys.
16:58 You can see and submit surveys here. The survey distributed to you by the admin or other staff. So here you can select the type.
17:11 So we have all the quizzes that you have uh you have submit, you have distribute and create. You can see create and edit all the available questions from here at the question bank.
17:29 Of the database according to the selected category and level. You can choose mathematics for example. You can see some questions here.
17:45 You can choose English maybe. You can choose other, you can see the level here. The category, the type, the question type.
18:01 Choose the quizzes page to create new quizzes, surveys, or to see, edit, or manage the distribution of your list. Here is the create new.
18:14 From here you can create a new quiz. Add the quiz. From the distribution page you can see the details of the distributions you have made.
18:26 Here we have nothing yet. You can also add Also make it anonymously if you want.
18:41 That was all for today. Thank you very much.
FAQ’s
A teacher’s portal typically includes features such as a dashboard with key metrics, calendar and timetable views, event management, session recording, group and student details, attendance tracking, classwork and homework management, assessment and grading tools, meeting scheduling, and analytics.
Classter’s teacher portal integrates various functionalities such as streamlined event management, advanced attendance tracking, and comprehensive grading tools to create a more efficient and organized teaching experience.
Yes, Classter allows customization of the dashboard to display relevant metrics and notifications according to the teacher’s preferences, such as group sizes, student numbers, and upcoming events.

