Want to simplify managing your classroom sessions and homework? This video is for you!
Join us as we walk through step-by-step how to efficiently handle sessions, create assignments, and track progress using our intuitive platform. You’ll learn how to easily filter and view sessions, analyze student performance, and even create homework assignments for both groups and individual students. It’s packed with practical tips to streamline your academic tasks. Plus, you can download the transcript as a handy written guide. Don’t miss out—watch now and discover how to stay organized and save time!
Transcript
00:00 Hello. Today we will see sessions and homework. This section will be talking about session and homework, both important parts of academics.
00:13 You will see how you can manage your sessions and homework. But first, let me explain what a session is. Session is the actual event of teaching.
00:25 It is the actual, it is the actual event of having a group of students in a classroom and the teacher teaches a specific subject.
00:34 This is a session, so if you have four hours mathematics per week, um, this is going to be your four sessions for mathematics, uh, for this specific group.
00:45 For example, group, uh, A1. Now let’s, let’s go. Let’s start. You can follow the path, uh, academic tasks, sessions, and homework, and then we can go to session list.
01:04 Here, use the filters to show the session for specific teacher group and range. If you select only the date range, all sessions that have been created will appear.
01:23 Uh, for example here, if we choose, uhm, the academic period, all the sessions will appear. Using the filters from up here, we can narrow down the results by based on what we need to find.
01:45 For example, if we select, uh, the teacher, uhm, Ellen Borg here, and, uh, the group year 6b, we will see Ellen’s sessions from year 6.
02:04 We can view it in list type or calendar type, whatever you wish. You can also choose a subject, uhm, if we put here mathematics, we can see only the mathematics session, uh, for the academic period.
02:21 We chose, and here we can see all the sessions. You can also see more details, uhm, for example, uh, except the educator, the group, the subject, we can see when the session start and end.
02:37 Uh, you can see the status of the session, if it was completed, means that it was, uh, before today. If it’s not completed, it’s scheduled.
02:48 Uh, then you can see the classroom, you can see the time, you can see the hours of the session, in minutes.
02:58 And, all of that, you can see, we have a lot of information here. If you click here, at create, uh, you can create a new session.
03:13 Let’s add session’s data right now. In the main data section, right here, uhm, you need to select the educator, for example, let’s put, uh, Ellen.
03:32 Uh, the group, year 6b, and the subject you will be in English. Then you have to add, uh, the entry details for the session, uh, which means the date, let’s put, uh, on Monday, uhm, the category, uh, main, uh, the time when we want the session, Uhm, let’s put it here, uh, if it’s a theory or lab, uh,
04:02 that’s not, uh, so for the K-12 institution, it’s more for colleges or bigger classes. We have to add the title to the session, uhm, test, so, session, maths, uh, you can also add some, uh, lesson planning here, it’s not mandatory, you can also choose the class, uh, we’re looking for, you can also upload
04:35 files and links here, write some comments, uh, make sure that is public, is on, in order to add the session to the teacher’s and student’s calendar, uh, if you If you click on save, you can continue.
04:59 If you click here, save and send message, uhm, you will save the session and the message will be sent to all the students.
05:13 And that That was all. Like that, you can create a new session. Let’s go back now. If you click here, create from timetable, uh, you can create a session using timetable slots.
05:31 Uh, use the filters to show the timetable. Timetable for a specific timetable range, uhm, for example, here, you can choose the date, uhm, activate this to create a session using timetable, uh, by using this option, the corresponding timetable plan.
05:55 will come to you as suggested sessions. According to the corresponding timetable plan, of course, use the filters here to refresh the teachers at subject drop-down list so that it contains teacher, or subject using the existing enrollments.
06:18 Uh, let’s choose a level. Okay, and, uh, let’s click on that.
06:32 Here you can see. Let’s put the 30 minutes or the 60 minutes. And you can see all these that already exist.
06:47 Here. And you click on Save. You can also check for Classroom Availability if you want. You click on Save Time Table Suggestions and you’re ready again.
07:15 Then we have sessions marking analysis. Right down to the session list is the session marking analysis tab. Select the group from here, uh, the subject.
07:32 And the date you want, uh, let’s put academic period again. You can see results in the graph presenting percentage of students that are excellent, very good.
07:52 Uh, average or fail in the selected subject. Next to the graph, here is the graph. You can see the percentages, uh, of very good, excellent average.
08:03 Uh, right next to the graph here. You can see previous information in numbers. Uh, for example, at, uhh, these students were very good.
08:21 Uh, these were average, they were excellent. You can also see a subject average up here. Additionally, you can see, We’ll see you in the video.
08:33 Students’ information down here. In the marking list. Here. You can see analytically the student marks a pitch session. Umm. Let me mention that you can use the columns to filter or classify the results.
08:56 Umm. For example, here we have umm, Nathan. Uh, you can see the date and the session right here.
09:09 You can see some comments and efforts here and the final over mark and the result. You can again leave your comment.
09:20 We can see that here umm, at this session, at this date, he had no homework, no books and, So he failed.
09:30 Uh, we can see here that, uh, in another session, another day, that he was excellent. His overall mark was 100%.
09:40 And you can do the same for any class or group you want to see. Then we have the homework. You can use the range, grade, group, and subject filters to show the homework you are looking for.
10:03 Um, for example here, uh, again, academic period, um, or, last month. You can see the, educator, um, the year, the group.
10:19 Nope. For example, if we select the date range as academic period, as we just did, um, homework for a group year six, uh, the year six and educator as Alan Bork and all the subjects.
10:48 We can see all this homework here. We can see the category, the homework status here. For example, no response. The date of the publish of the homework, um, and all that.
11:15 If you go here to create a new, you can create a new assignment. You can do this either right group or by individual student.
11:25 Let’s first look at how to do it, uh, by group. You select your name here, from this. Let’s select again, Alan.
11:34 Uh, you select the group you want and the subject you wish to put, uh, homework. You have to select the date, for example.
11:45 The date through until 12th of the month. And here we can click on show homework. By clicking show, you can choose the type of assignment you want to create, such as classwork, homework, um, over a test for homework.
12:05 So, for example, here you can see a lot of categories. Umm, let’s create a homework assignment. Here we can put it on umm, Friday to day, as you can see.
12:21 Usually the date you want. Umm, a pop-up window you can, will appear.
12:35 You can write here the assignment or put a photo, if you won’t, or upload your files. Umm. You can even attach links, uh, at the bottom of the window here, and you can choose the duration you want, um, from, uh, from the day until the due date that we put before.
13:01 And that was all. That was, uh, how you can put some- homework to your students. Uh, then you click save or save and message.
13:11 Uh, and that’s all. If you click save and message, uh, uh, message with the homework will go to all your students.
13:22 It basically allows you to send a homework by email to- . . Student to the students directly. If you want, uh, to do it by student and not by group, you can again select the filters.
13:41 Uh, as before. But you can choose up here per student and not by group. Again, you select your name, the group, umm, the subject and the date, click on homework.
14:01 And, uh, after that. But the process is exactly the same as before. Uh, but here you have to choose, umm, the student you want, for example, is just Francesca.
14:12 And, from now on the process, the process is exactly the same. If you click save, it’s just a, if you click save and send message.
14:22 Umm, as, uh, it will send an email to her with homework. And that was all. A very easy process to check the session list.
14:41 And, umm, give homework to your students. Thank you for joining us. See you to next video. Bye.
FAQ’s
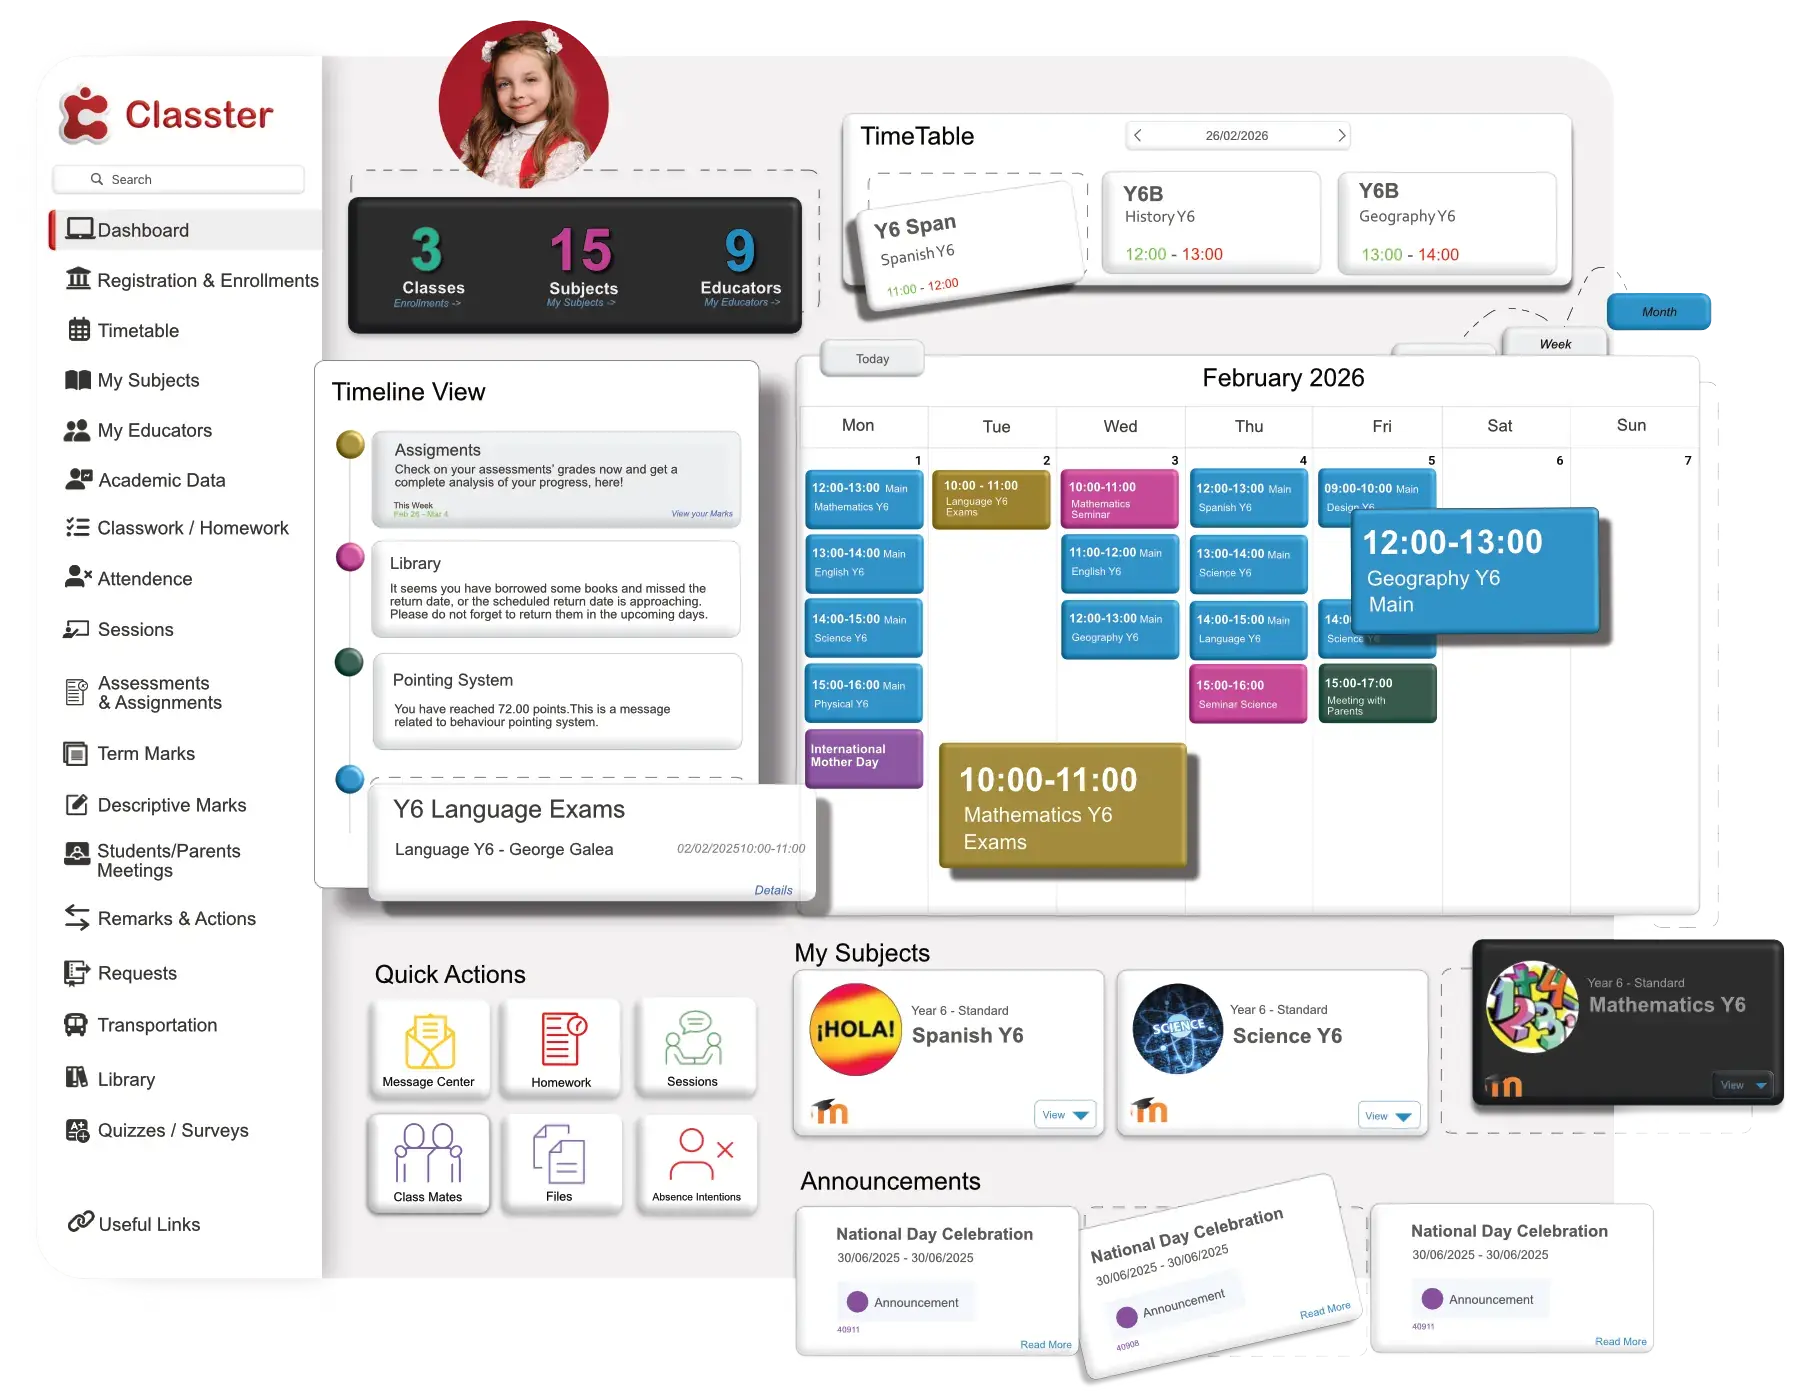
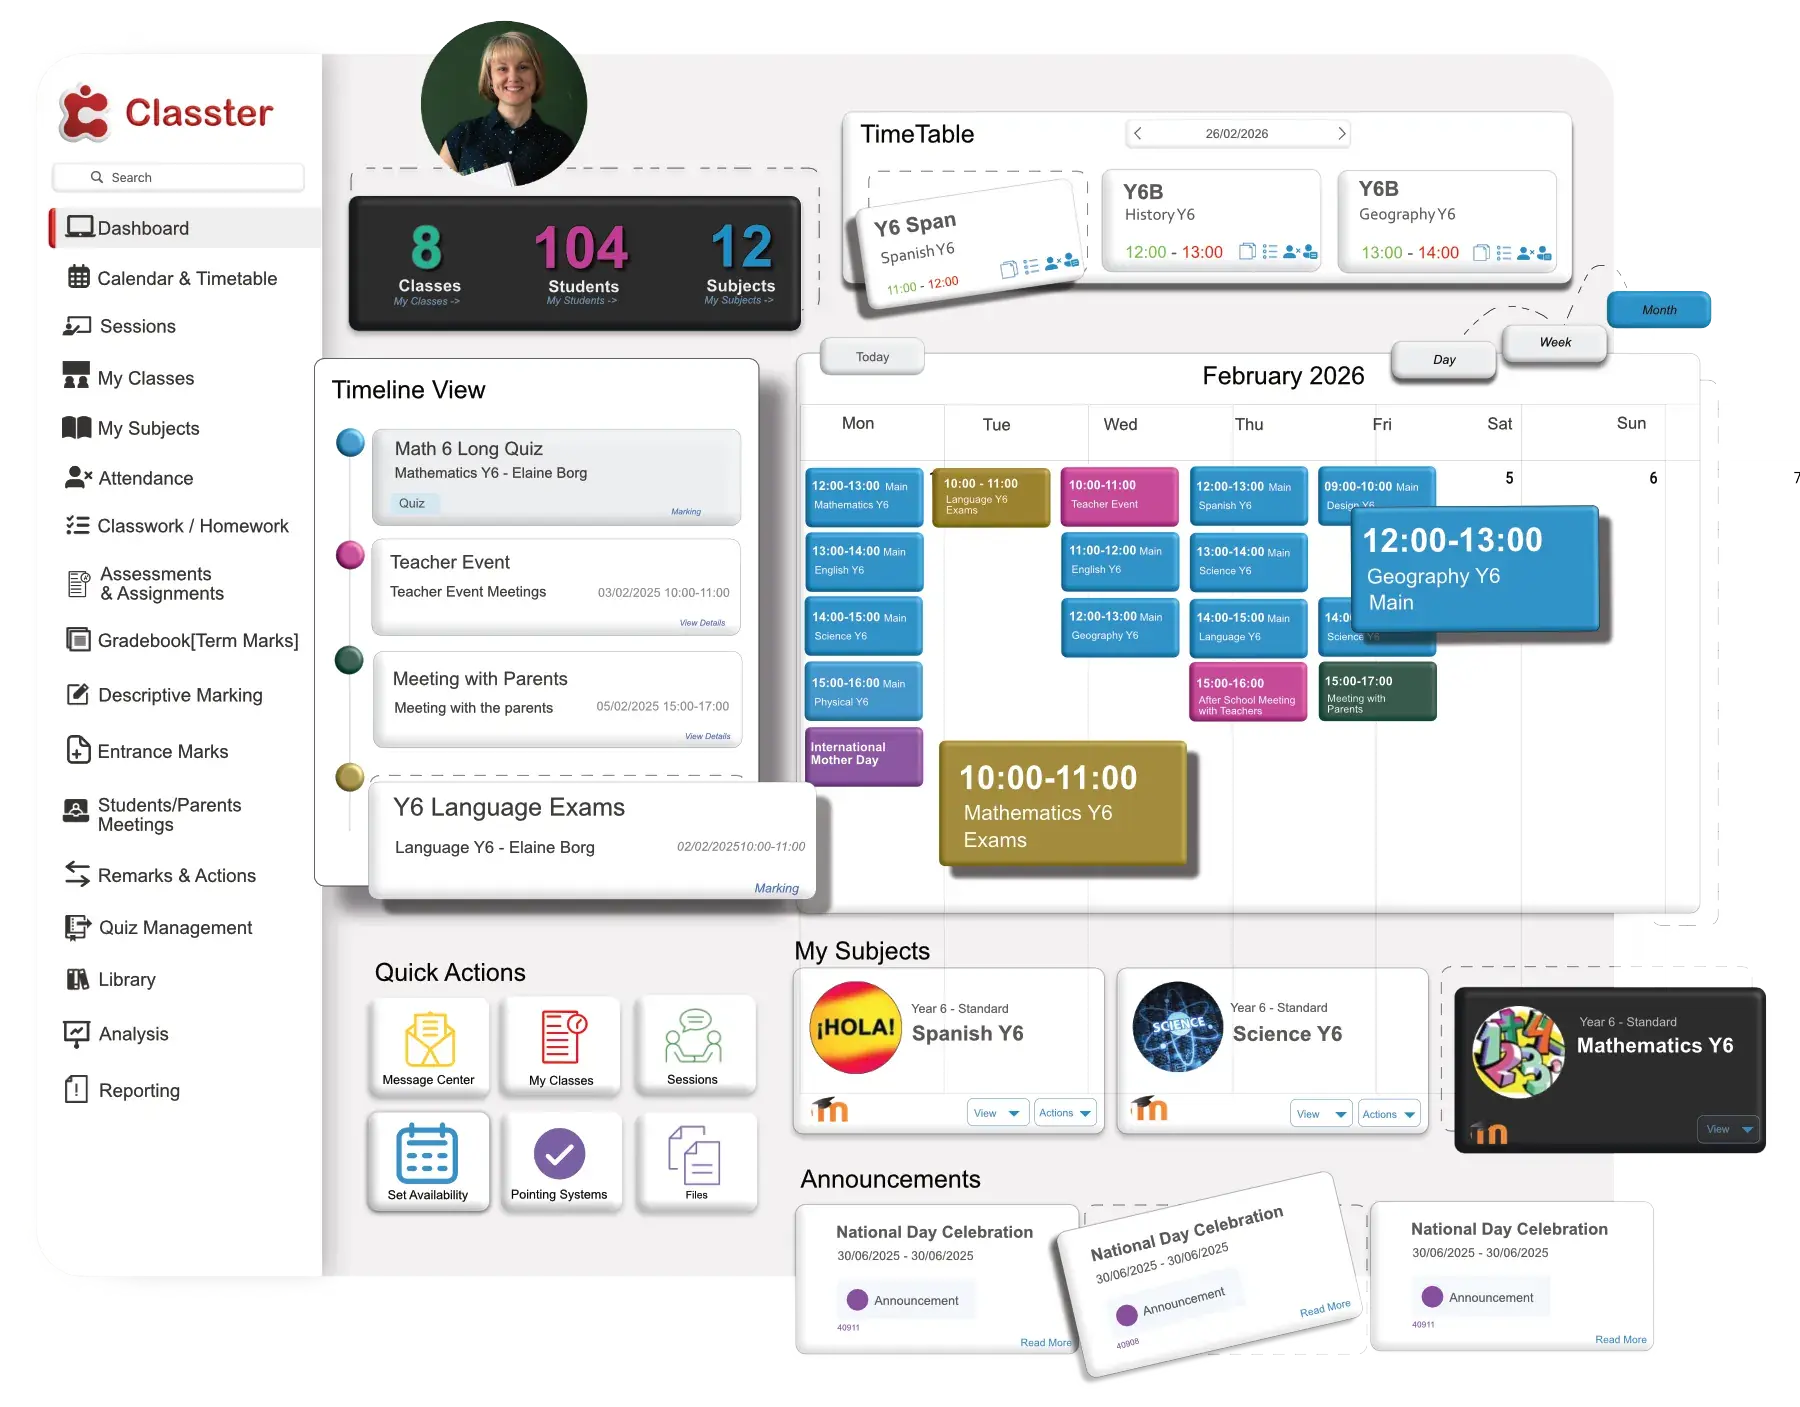
A session refers to the actual teaching event where a group of students attends a class, and a teacher covers a specific subject. For instance, four hours of mathematics each week would be split into four sessions for that subject.
Classter simplifies session management by allowing you to create, track, and view sessions with detailed filters and scheduling options. It also provides tools for analyzing session performance and integrating sessions with academic calendars.
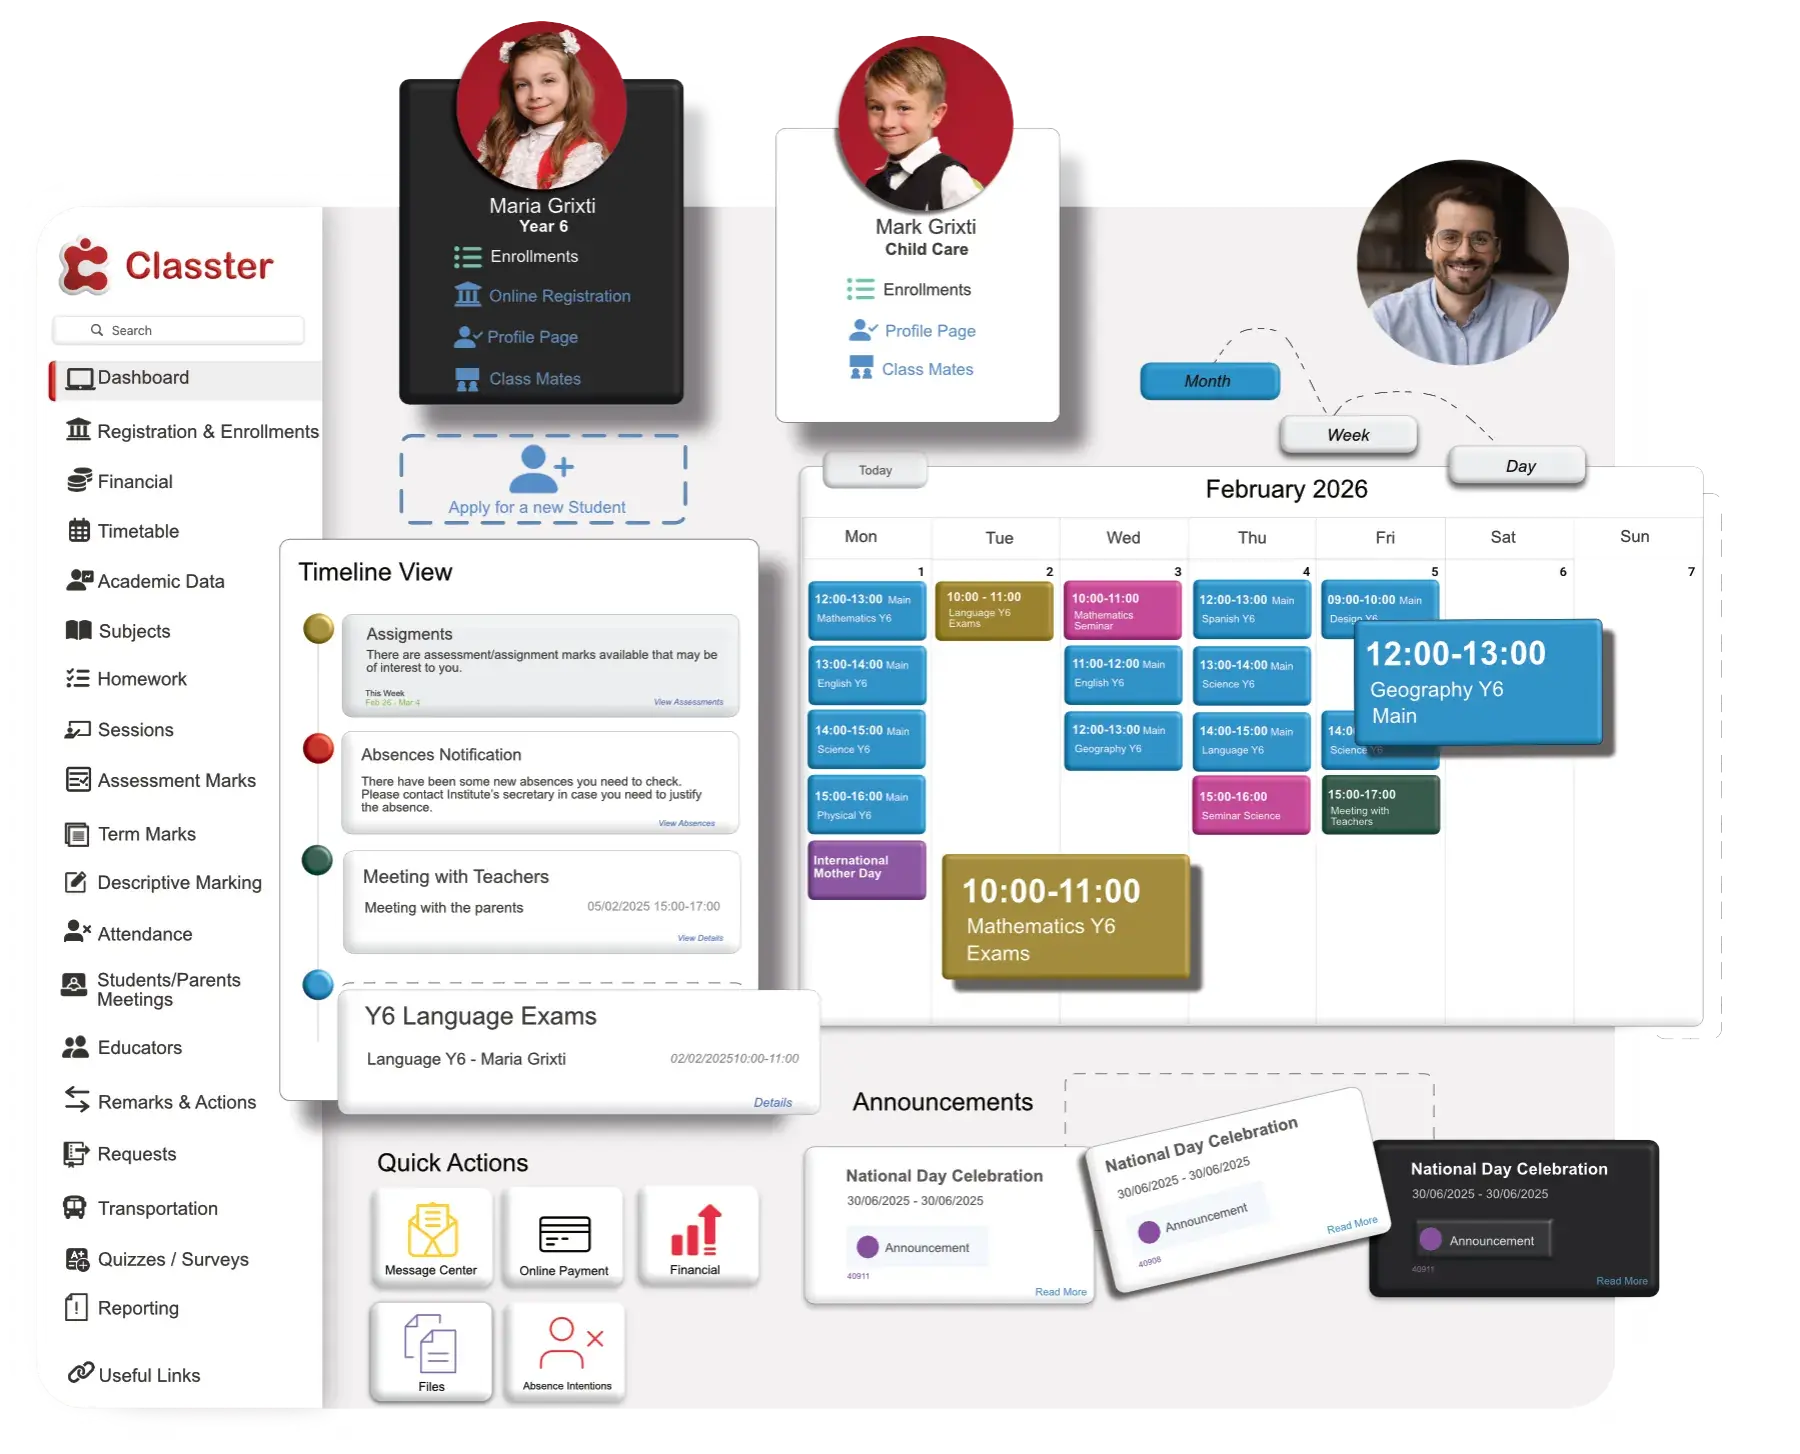
Yes, Classter allows you to manage and track homework assignments efficiently. You can create assignments, set due dates, and monitor completion statuses, all within the platform.