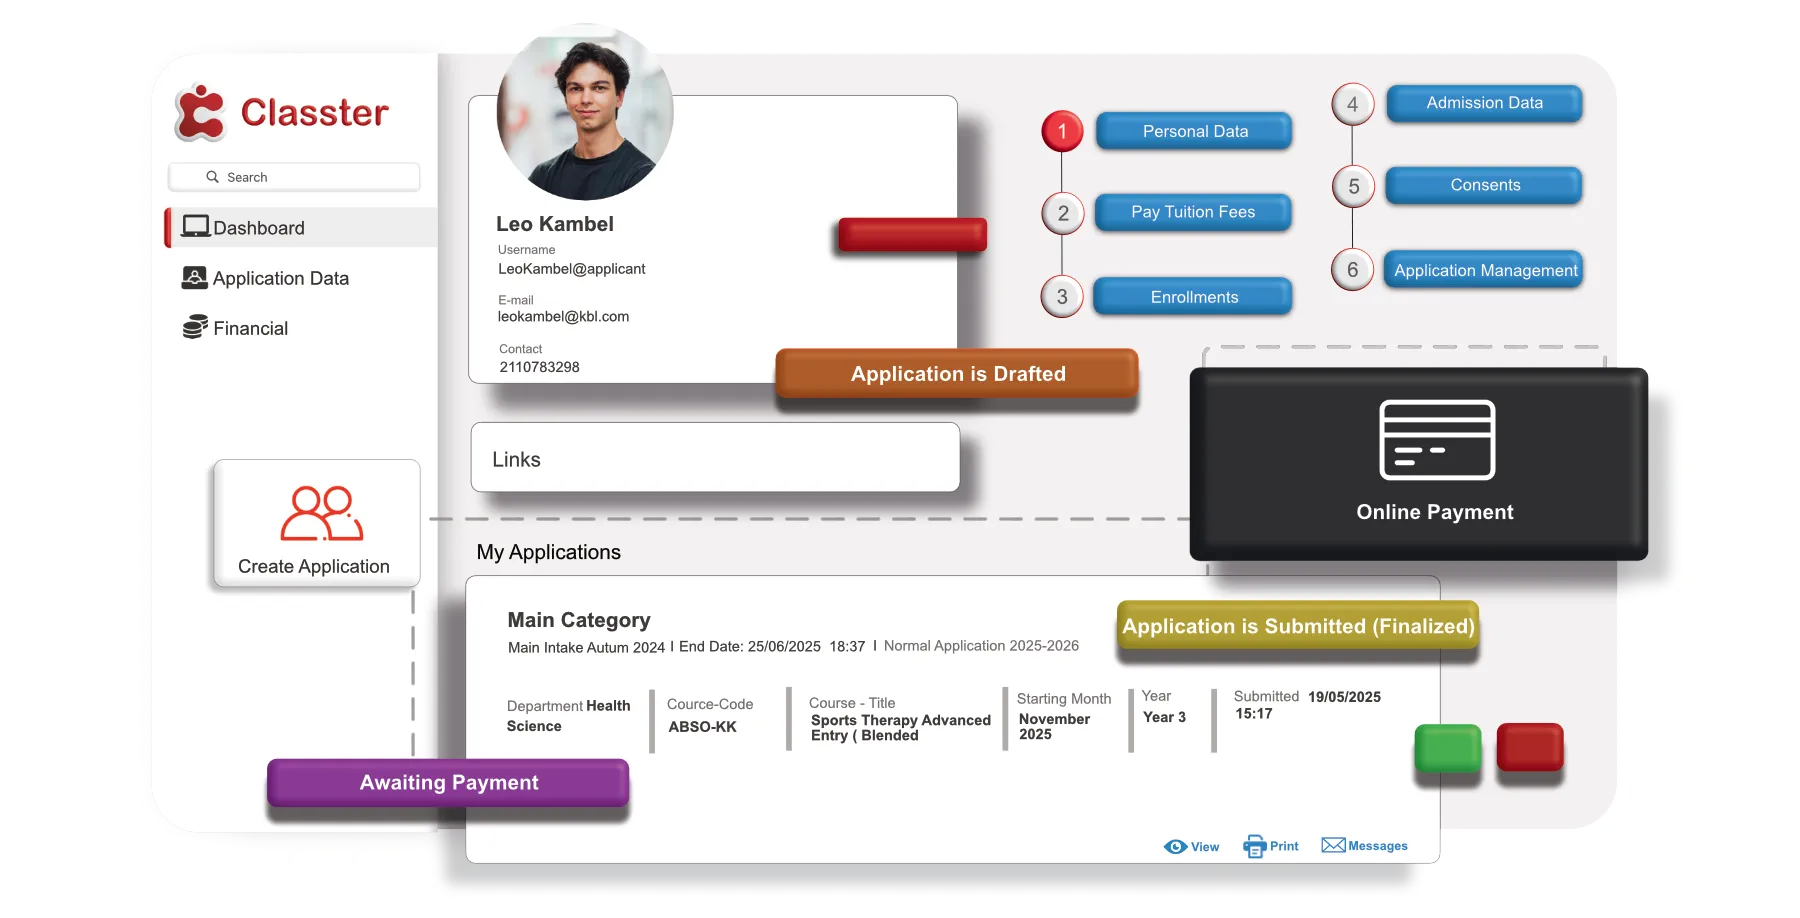
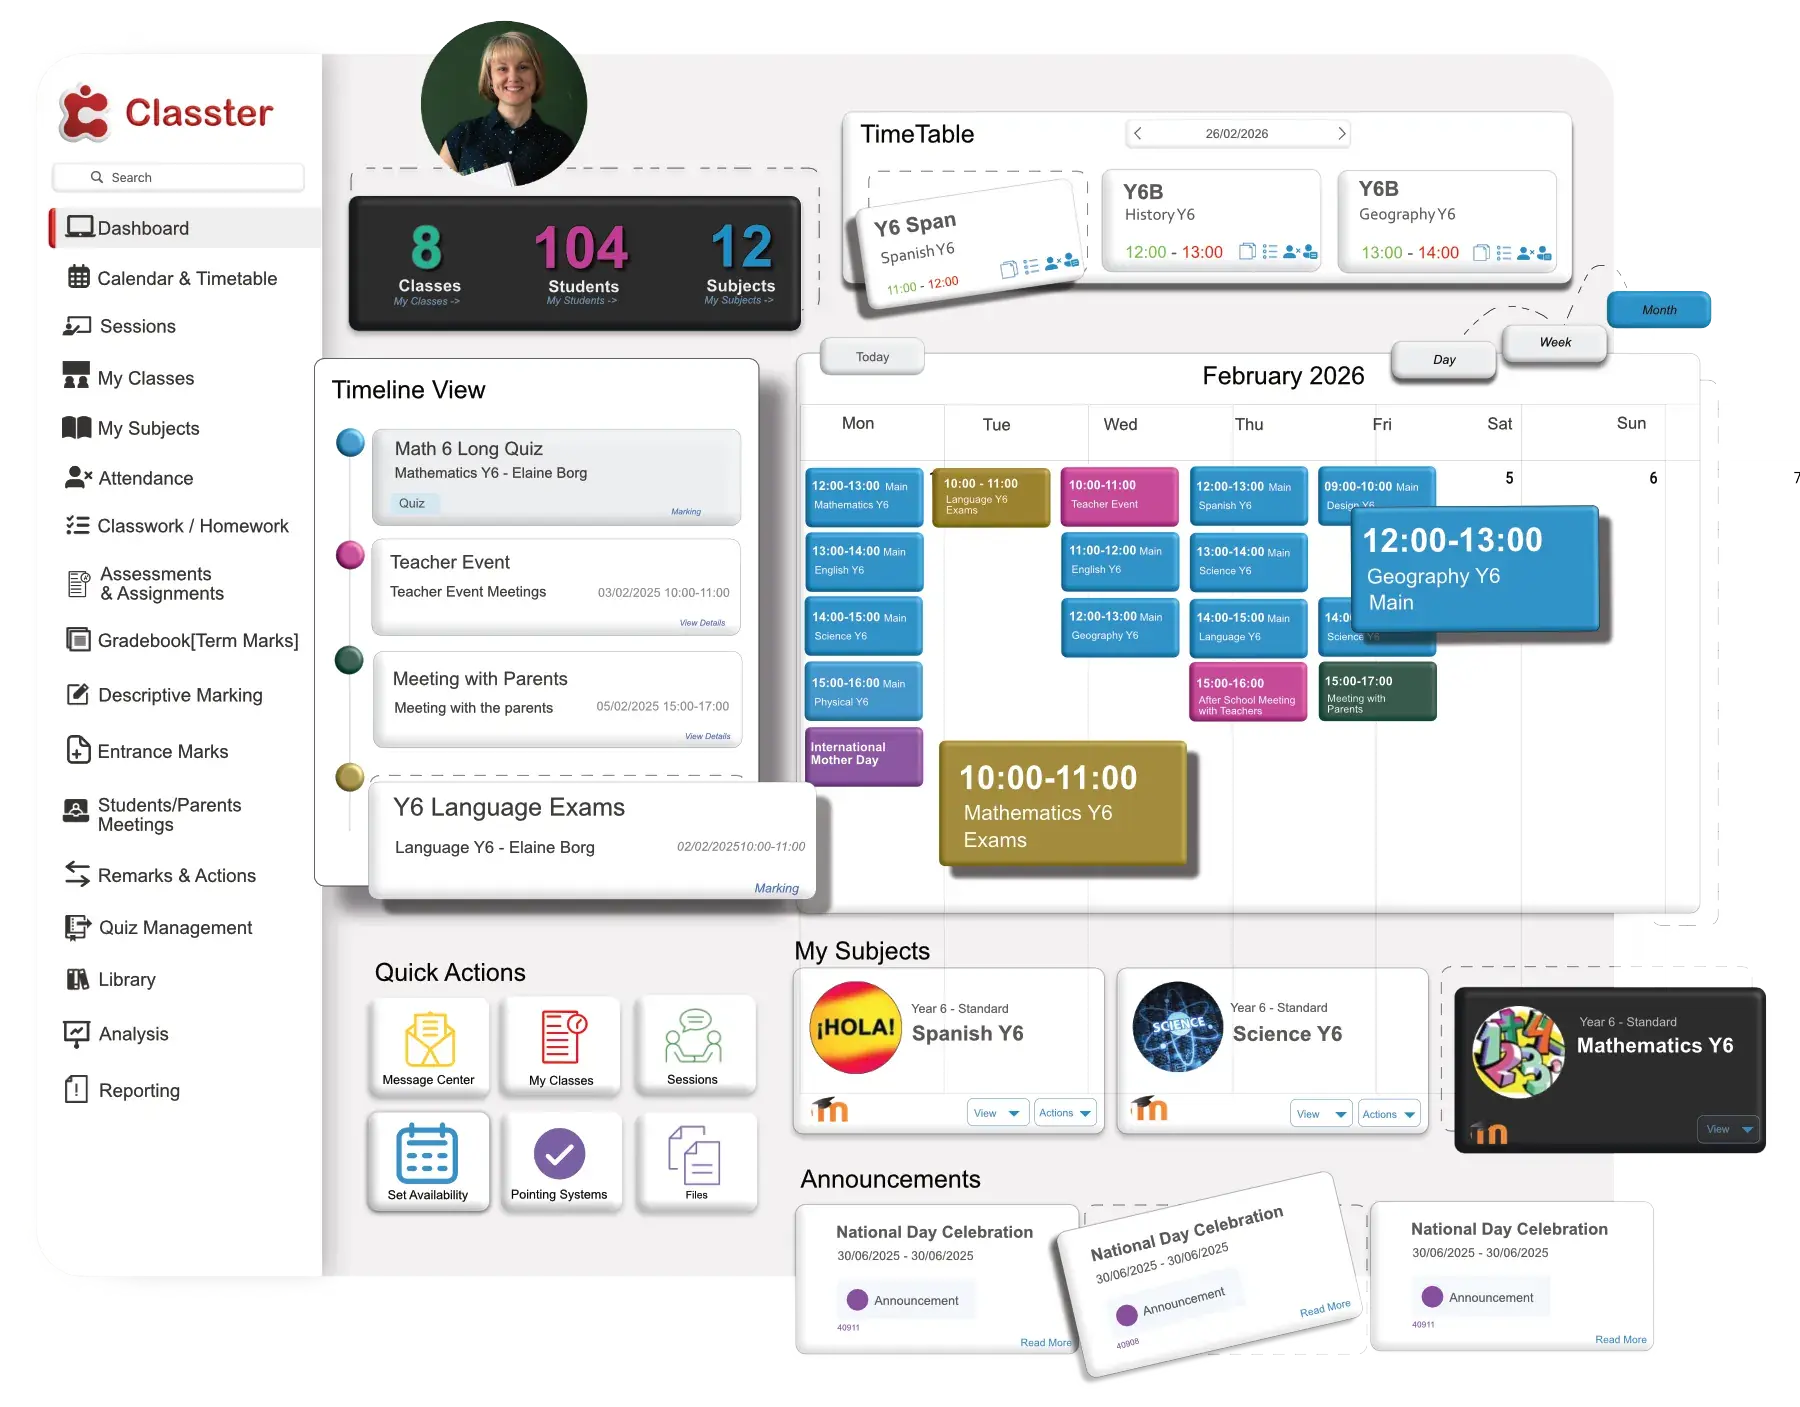
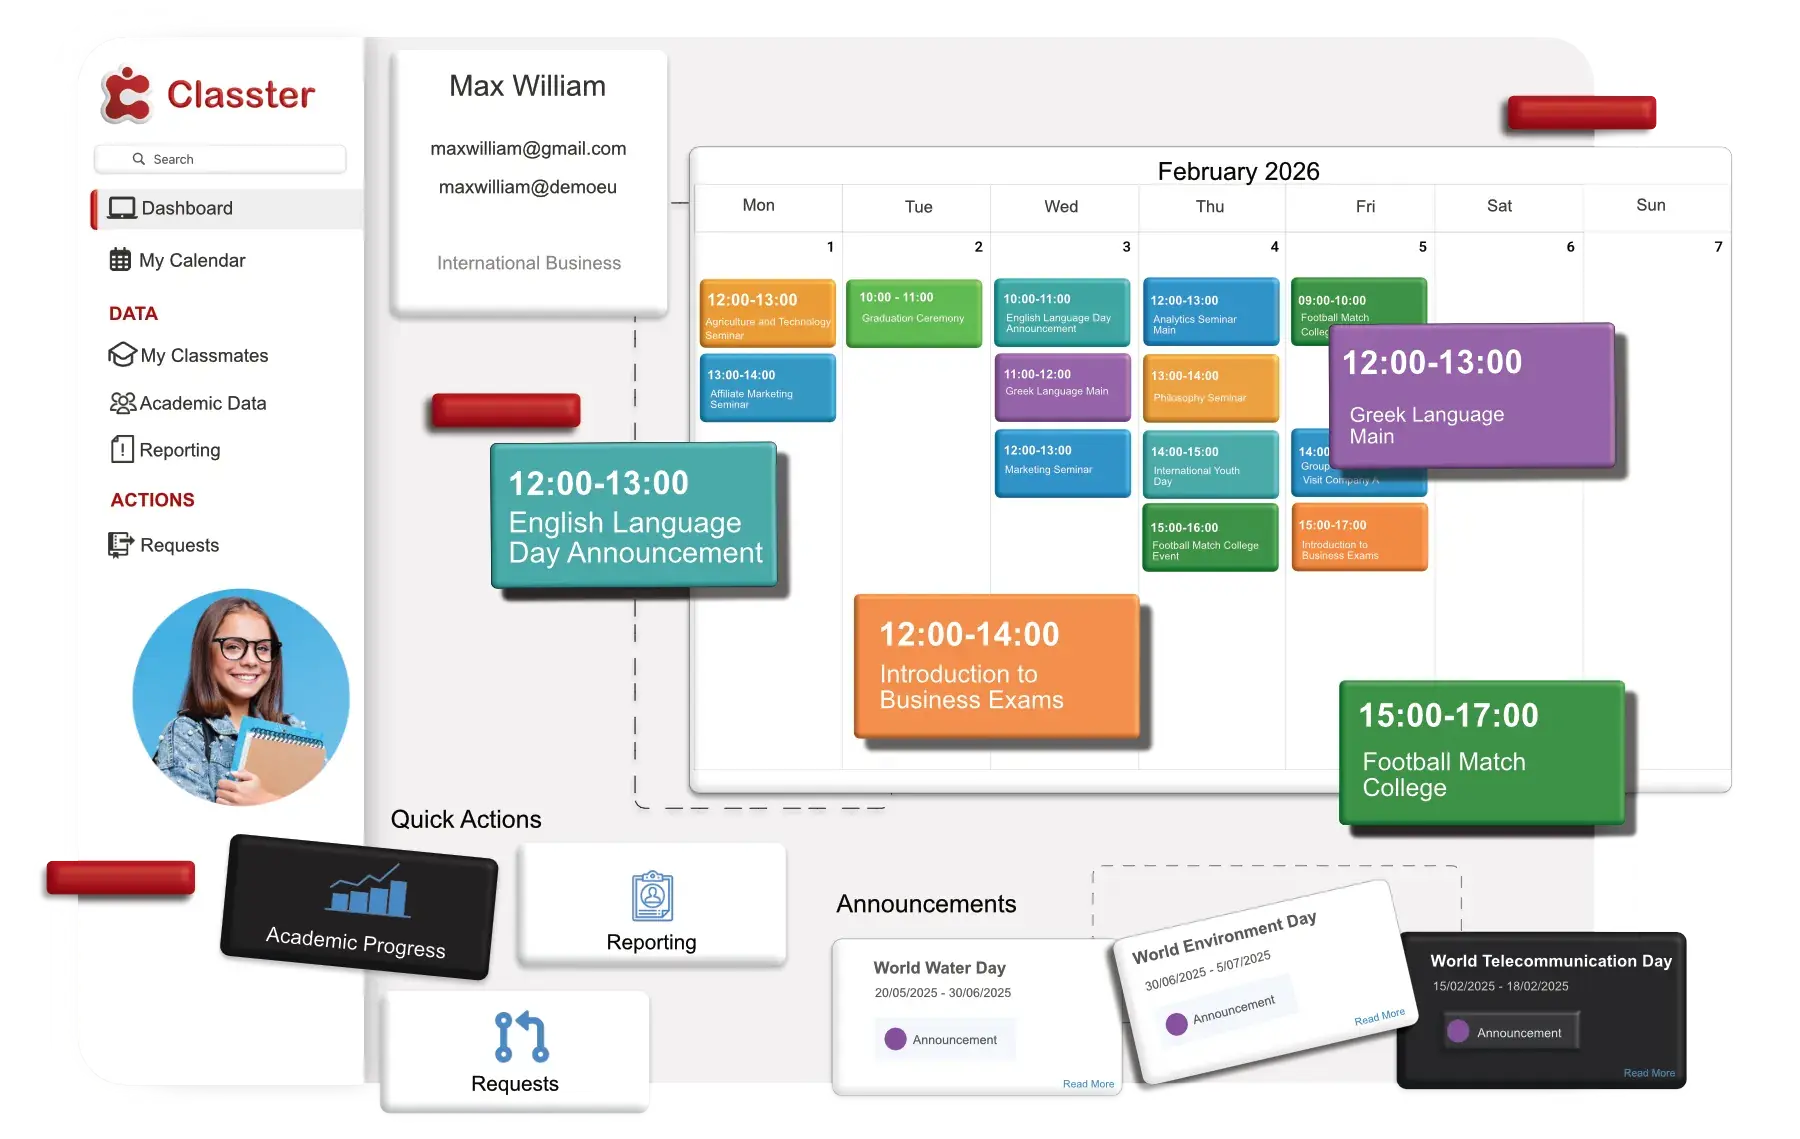
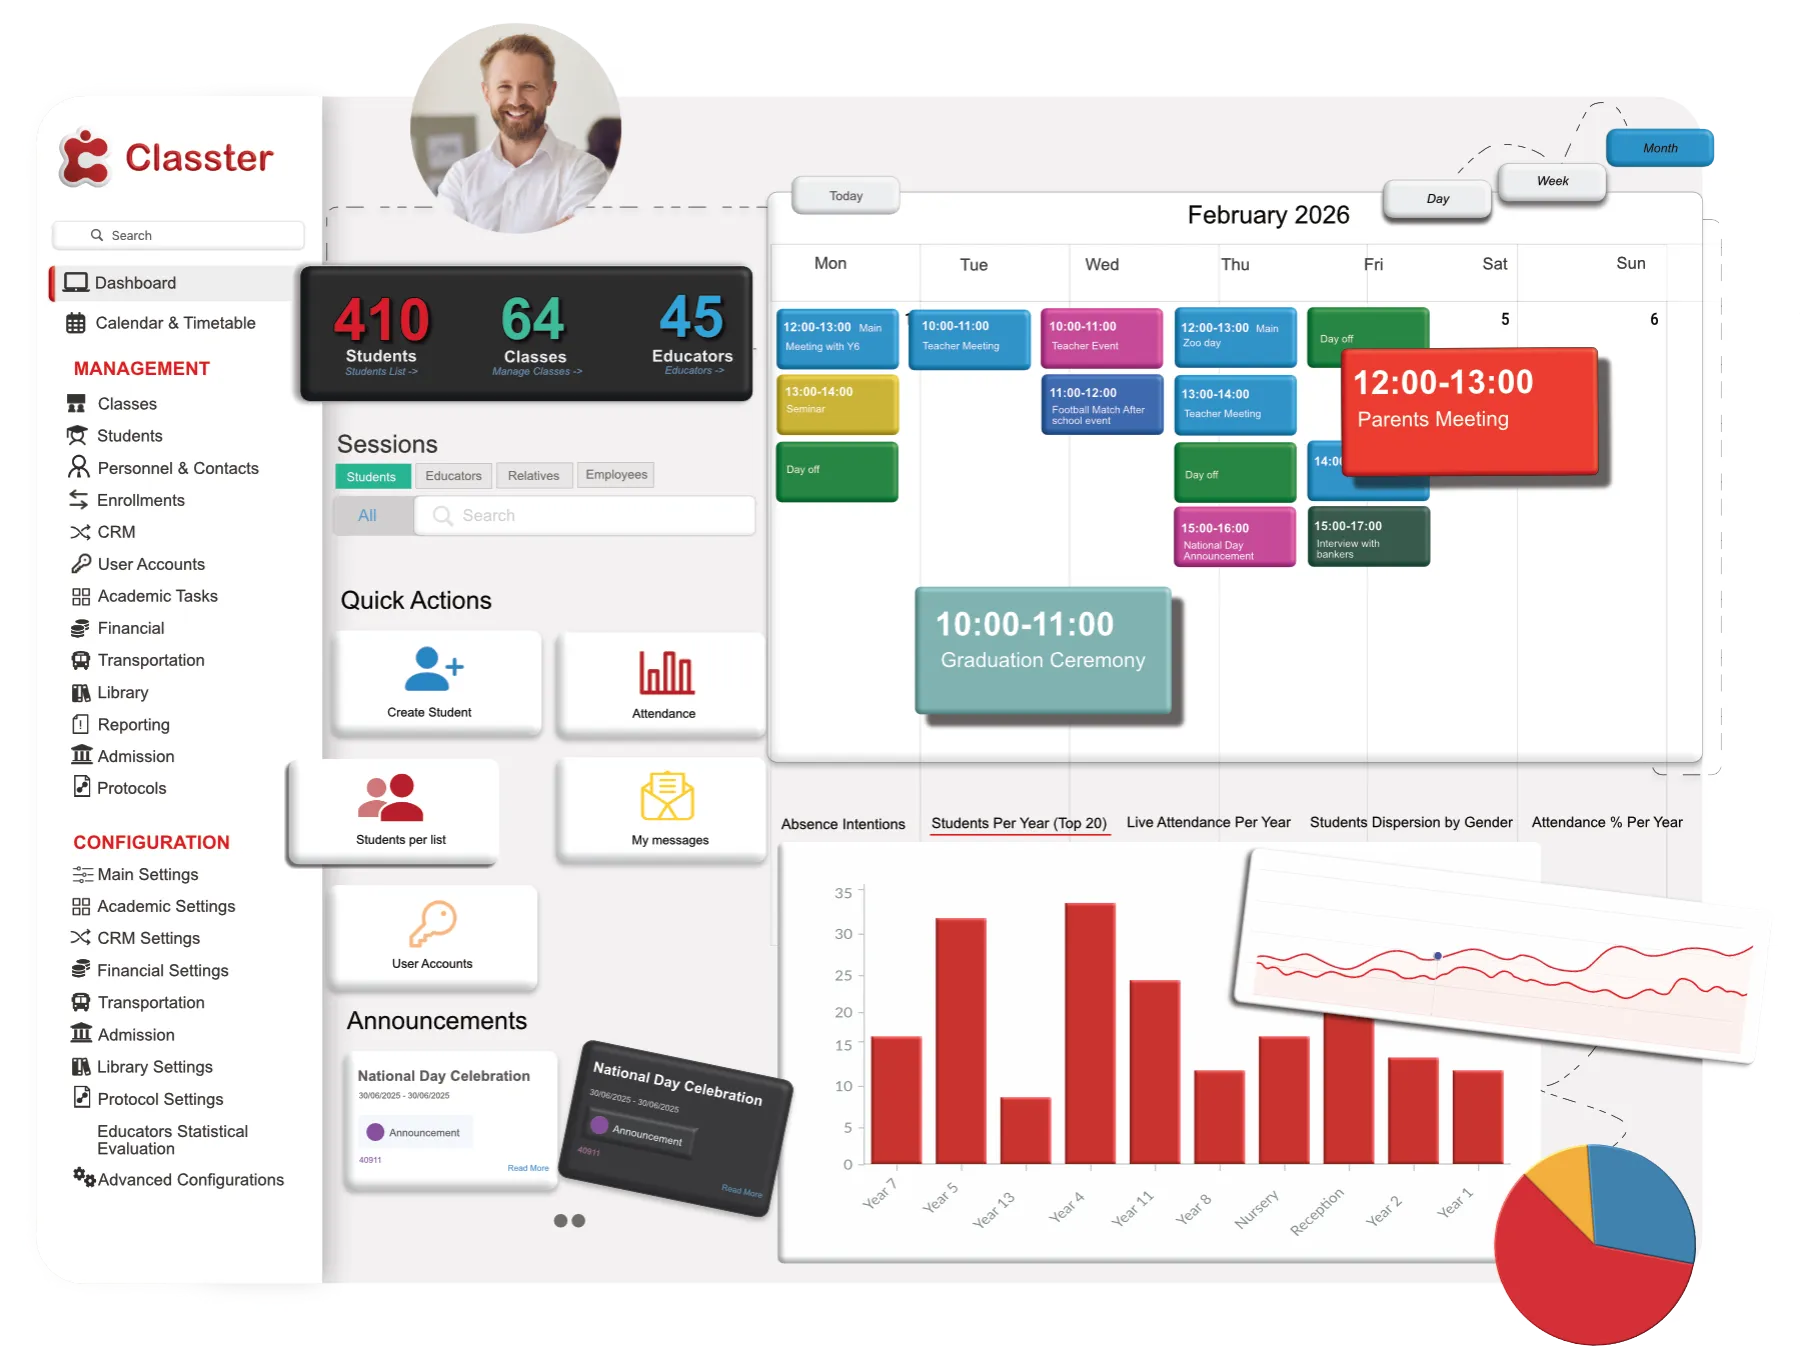
Managing roles in your school’s system can feel overwhelming, but it doesn’t have to be! This video walks you through how Classter simplifies role management, making it easy to customize user access for students, teachers, parents, and admins. Whether you’re assigning permissions, copying roles across academic periods, or configuring privileges, we’ve got you covered. With step-by-step guidance, you’ll learn how to manage roles efficiently, saving you time and reducing complexity. Plus, you can download the full transcript to use as a written guide for future reference.
Watch the video now and take control of your institution’s user management with confidence!
Transcript
00:00 Hello again. As you may already know, Classter is a modular student and learning management system. This fact is important for you to keep in mind when managing and configuring roles.
00:14 Classter allows users such as students, teachers, employees, parents, and admins to log on to their personal user profiles so that they may use it to view, manage, or configure data in their portal, in some or all academic periods.
00:32 Roles in Classter may vary from institution to institution and may be described differently. The one constant though is, are the Role Types.
00:43 These Role Types are predefined by the system and work as templates for you to create your different roles. These fixed Role Types are Administrator, Student, Teacher, Employee, and Parent.
00:56 Each Role Type has specific predefined rights and privileges given by the default. In this video, you will see how you can create roles by configuring the Role Types in a way that suits your needs.
01:12 To start managing roles, follow the from, follow the main menu here in the configuration, main settings. Main settings, Role Management.
01:25 Once you follow the path, you will be transferred to the Role Management page. Here you will see the various user roles that have been created and the role types that are associated with, ah, the teacher, the student, the parent, and, ah, the employee, as we said before.
01:40 Huh? The roles you see are the basic user roles of Classter, uhm, you can create new roles based on these five main roles, uhm, as we said before, the student, the teacher, the parent, and, ah, the employee, and the administrator.
02:01 For example, here you can see, ah, the principal teacher, ah, the secretary, ah, that is based on the user type employee, ah, of course you can manage its role, you can edit or delete them as you prefer, you can change their order, ah, by drunk and drop them, like that.
02:24 Uhm, if you click on copy role and rights to period, you will view a pop-up window, ah, from here, ah, where you will be able to select an academic period to transfer the user role.
02:39 Some of you selected the other option. Ah, pop-up windows will appear like that. You can select what you want to copy from this role.
02:55 For example, here you can copy, ah, this role, ah, to another year. So you just select your year and click save.
03:03 Ah, now let’s see how we can edit a role. Once you click on the edit button, ah, from the actions here, the, you will be redirected to the edit page for that role.
03:19 Right here, on this page, the first view displays the modules tab, here you can see it, showcasing all the modules enabled for your institution.
03:34 To deactivate a role, from here, simple tap to toggle off the active switch, right here, right down of the role, you can modify the role’s description, here, maybe, for example, you want to change the student to pupil, that’s up to your institution.
03:58 Uh, note that the user type, uh, exactly right next to the description, uh, cannot be changed on the edit page, it is only set during the creation of the user role, uh, additionally Finally, you have the option to add some comments regarding to the role.
04:18 Uh, here, okay, from the list of rights, you can untick, uhm, from here, uh, any modules to restrict access for this role or tick the boxes next to the module to grant access.
04:36 For example, if this, is not click, uh, the students can see the academic. If it’s click, they can see it.
04:43 Uh, the search field right here, uh, at the right, uhm, allows you to quickly find specific modules within the list.
04:56 For example, billing, you can see it here. Uh, interactions menu up here, right next to the save button. Uh, you can select the option, copyrights from another role, uhm, enabling you to duplicate the permissions from an existing role to the current one.
05:18 Uh, after making the necessary changements, uh, it’s like the pop-up we said before. After making the necessary changes or additions to the role, you can click save.
05:35 To apply and store your modifications. On the modules tab, as we saw earlier as well, you can see all the modules available to your organization and you can pick which modules will be available to a specific user role.
05:58 Once you click on the menus tab, right here, you can see all the menus available to your organization and you can pick which menus will be available to a specific user role in each module.
06:11 Again, you will see checkboxes, uhm, under the left column and menu name. Modules in the right columns, uhm, in the previous tab modules, you did not select a specific module.
06:26 All modules menu will be deselected in the menu tab. Modules are the whole and menus are the individual modules. Part of the module, for example, we have billing, uh, billing module and transactions menu.
06:43 Okay. So here we have, uh, registration and enrollments. You can choose, uh, only on-right enrollments, On-right and on-right registration, that’s up to you.
07:01 Then we have the privileges tab. On the privileges tab, you can choose what privileges a specific user role will have in the menus of its module.
07:13 Essentially, what actions he will be taking? Be able to take, uhm, for example, delete, edit, or create a specific data.
07:21 The privileges you can view in this tab depend on the user type you have chosen. Naturally, admin types users have access to more privilege options than parents, uh, or student types.
07:33 Here are, we are, here we are, admin types. The student role, so we can see, little, uhm, so allow users to export and print data list, it is checked, so students can’t, uh, export and print list, uh, data, allow users to change photos.
07:55 Photo, it’s clicked, so students can’t change their photo, uh, and, so, in the student page, you can define the actions a specific user, uh, can do.
08:16 Uh, for example, an admin is available to do it in its menu of its module. Uhm, here, a student is not, of course.
08:35 As an admin, you can edit all roles. So let’s get in as an admin. Uh, admin. Okay. Uh, from, uh, the path of the dashboard, uh, again, at the same configuration, main settings, role management, uhm, we are going to privileges tab, and here you can see all rights for all user roles, student profile rights.
09:23 Uhm, basic data, right, has to do with the student’s basic, uh, data on the student’s profile tab, uhm, if, for, for example, you add the view right only, then the user role will only have, uh, the right to view a student’s basic data without the ability to change anything.
09:46 If you wish the user role to be able to edit basic data as well, then you should add the edit right as well.
09:53 For example, here, you can see at basic data, you can view and edit, student can view and edit their data.
09:59 Uhm, at relatives, it’s the same, you can remove the edit if you only want them to see their relatives. And you can see at the most of this, we have view and edit, it’s, uh, some things, and students can change.
10:26 From the tab for the student’s rights, we can edit all the permissions a student has, such as demographic data, transfer, medical data, uh, like here, demographic, student profile, enrollment, certification, and more.
10:50 We can do exactly the same for the other roles, for educators, for example, for employees, uh, for relatives, and the global rights are the rights for the administrator.
11:08 Then we have the special rights. Special settings. Special settings tab offers a final option for targeting who can view which location.
11:16 Uhm, for example, here you can change the level, the year, an excluded exception type tips, uhm, here you can add more fields if you want, or delete them.
11:42 At the mobile menu tab. This allows you to for setting rights for user roles when using the Classter mobile app.
11:52 Here you can define which modules, uhm, are available to users. Uh, for example, student user roles, who have access to the mobile app.
12:01 Uh, you can hide or make available specific modules and, uh, menus. For example, here. Here we have only messages, announcements, and calendar.
12:14 Uhm, then we can go to account management. Uh, user accounts.
12:29 Can see uh, this section of the roles management video is dedicated to the management of accounts. To manage user accounts, you will need to log in as an admin and follow the path at the dashboard, at the management.
12:45 In left section here, user
accounts, as we just did. Use these filters up here to locate the system users you are looking for by selecting the user type or any other filter you want.
13:01 Here we want to see, uhm, the educators. For example, uh, here you can specify the role, for example, teachers, and let’s see what we have.
13:16 All these are our teachers. Uh, in addition to the standard search filters, you will find the other filters. Advanced filters up here, uh, which when clicked on, it opens a side pane of filters that allows you to check more.
13:39 Use the advanced filters to further specify and locate the system users, uh, by selecting, login status, pending changes, or whatever you wish.
13:54 Once you have selected your search filters and advanced filter, you can click on the search button to view the list of search results.
14:02 Here we didn’t apply an advanced filter, just these two. And we have our small list. By clicking on the line Actions, here, you will see a drop-down list with options and actions you can take regarding a user account, in managed roles, periods, um, changed password, for example, or more.
14:33 Here you can see the list. And here we have, uhm, To add or edit the role, enable and disable accounts option operate in the same way as described earlier.
15:00 The only difference is that to use these options from Bind, you will need to first select the users in the list to whom you want to change roles or enable disable accounts.
15:16 For example, if you want to choose all, you click this one. If you want, just these two, for example, you change that, so, uhm, the bulk actions menu contains functional buttons that can be used to apply changes to multiply users’ roles.
15:42 At your time, uhm, and that was all. This was a brief introduction to managing its role in Classter. For more information, you can refer to the detailed video, the manuals, or Kotlincast directly.
15:58 We hope this video was helpful and useful for you to understand the functionality of Classter.
FAQ’s
Defining user roles ensures that each user has access to the appropriate modules, data, and privileges based on their responsibilities, improving both security and efficiency in managing school operations.
To configure user roles in Classter, go to Configuration > Main Settings > Role Management. From there, you can create or edit roles, assign permissions, and manage user access to various modules.
Yes, you can create custom roles by modifying the predefined Role Types. This allows you to tailor roles like Principal, Secretary, or Department Head to fit your institution’s specific structure.

