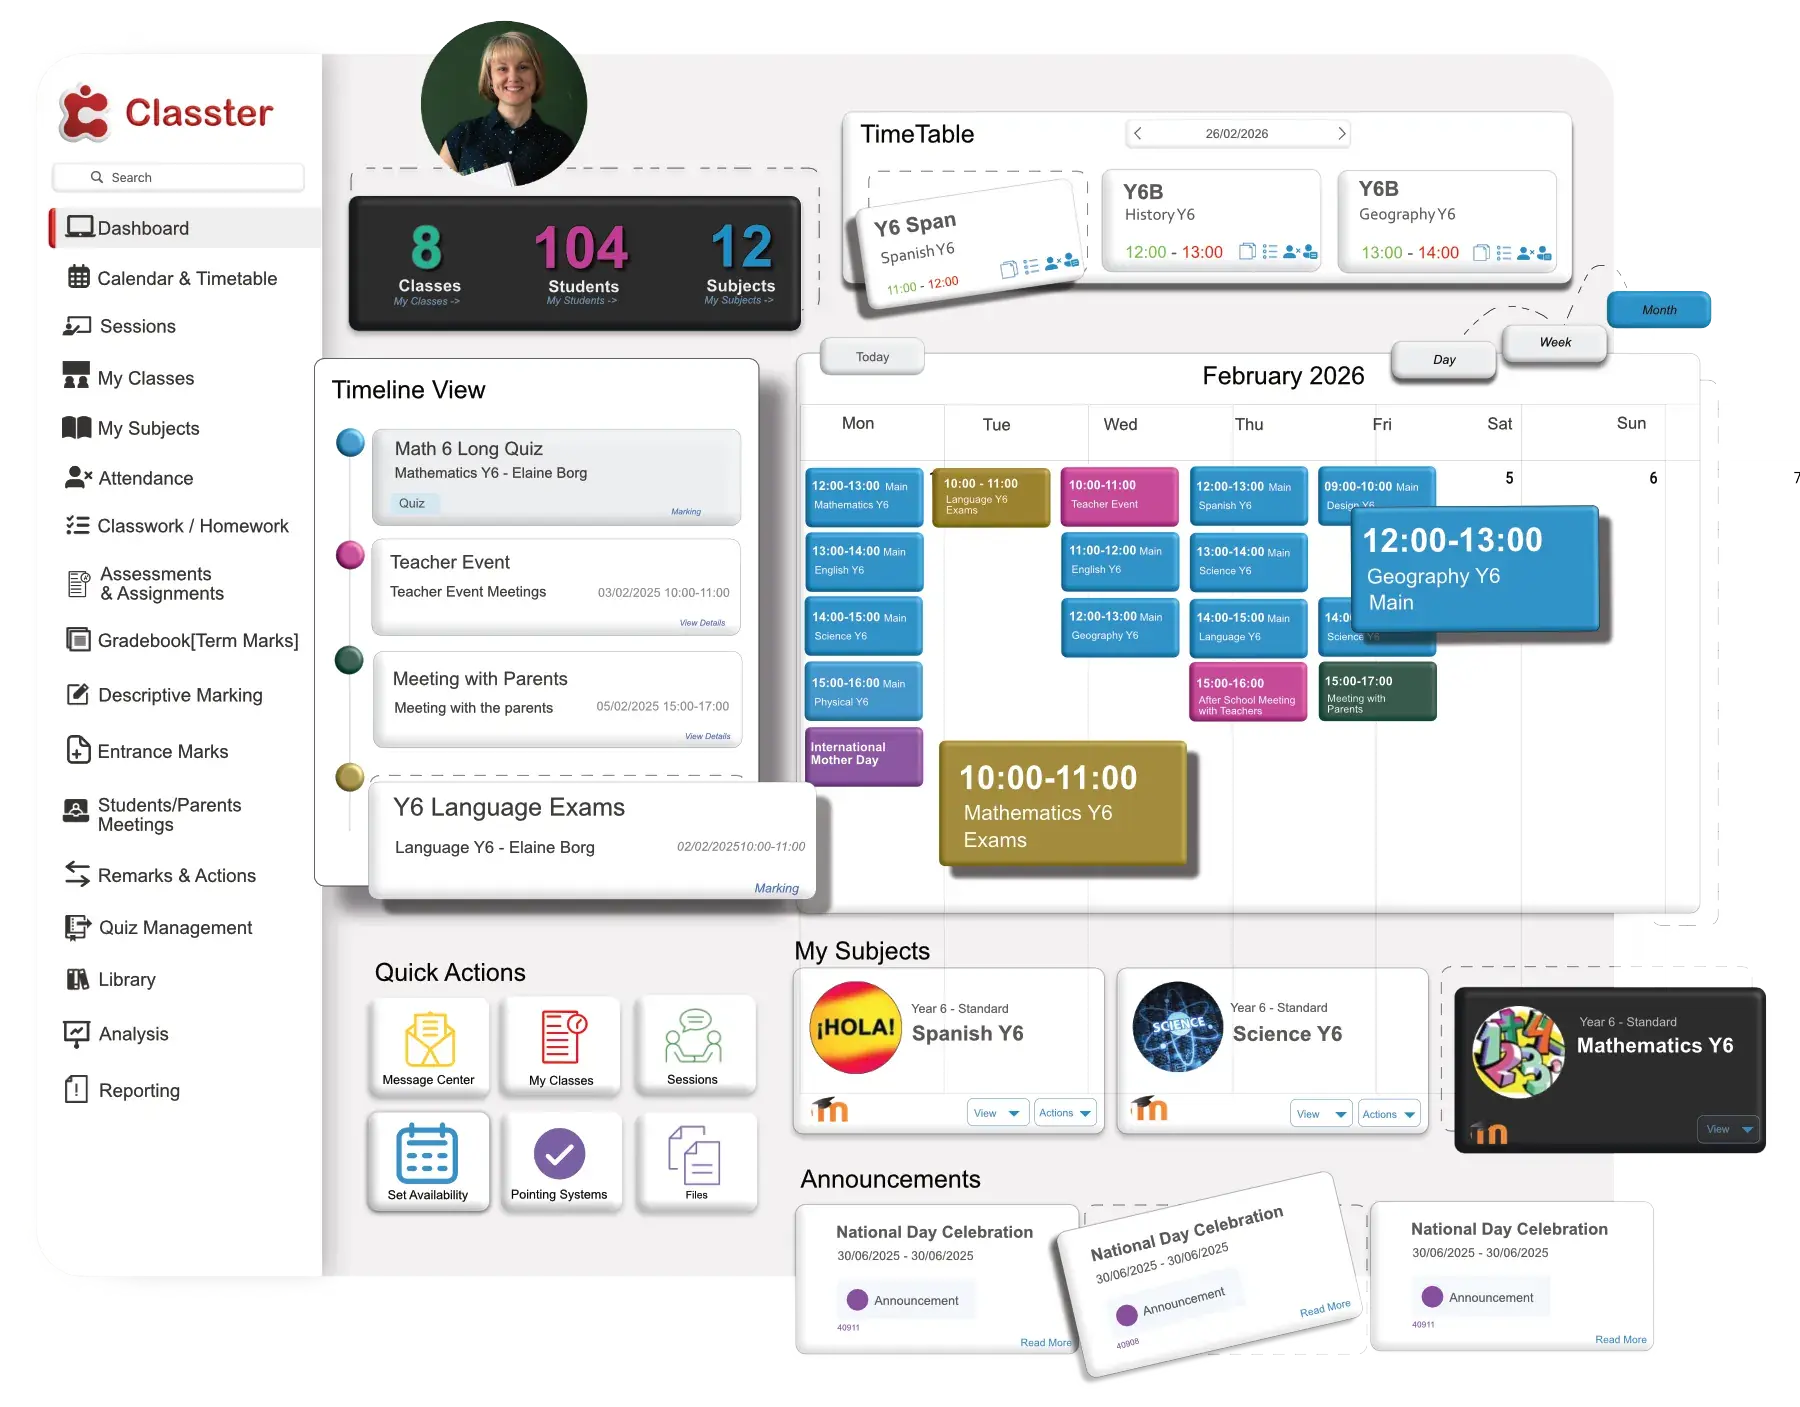
Looking for an easier way to manage student attendance?
Watch this quick and informative video where we walk you through our Attendance Module in just a few minutes. You’ll learn how to easily manage presences, absences, and late arrivals using four simple methods. Plus, get tips on viewing attendance statistics and recording extracurricular activities. It’s a must-watch for educators looking to streamline their tasks and ensure accurate records. And don’t worry—if you prefer written guidance, we’ve got you covered! Download the full transcript to keep as your personal guide. Watch now and simplify your attendance tracking!
Transcript
00:02 Welcome back. Today we will introduce the academic module and specifically we will look at attendance. In this section you can manage students’ attendance.
00:13 This includes their presences, absences, or late arrivals. There are four available methods of recording absences. The default method is set by the admin.
00:29 To see the attendance you have to go here, Academic Tasks, Attendance, and then we can see the subject’s attendance right here, but it’s our example.
00:43 The first method for taking attendance is per timetable period. You can add absences per student of a specific group at a specific date and timetable period.
00:56 By going to Subjects, Attendance, you can select the filters you want from up here. As you can see, uh, such as, uh, the date, uh, the educator, the group, and the timetable category, uh, and timetable session.
01:15 Let’s choose a date for here and let’s use June. Ellen Bourke, uh, year 6b, and choose her mathematics class. Here are, uh, the students of this specific, uh, session, uh, I mean, at mathematics class.
01:41 Mathematics year 6 at this specific time and date with Ellen Bourke. So now let’s continue. When you click the show you’ll get the list of the students who are enrolled in that specific subject as we said.
01:56 By default, those students are marked as present, which isn’t the case. They by the P right here next to their photo.
02:09 If you deactivate, uhm, here the A, for example, the student is present, for example, if you click here at absence, You can see that NA appears here.
02:22 That means the student is absent. Uh, if you click here on late, you can see an L, that means the student is late.
02:30 Uh, you can also choose, uh, at the category column right here. Uh, that if the student is present in class or present online.
02:43 Uh, let’s put here present online and all the others are present in class. Uh, you can also choose, uh, a reason at absent.
02:52 Maybe, uh, with doctor permission, parent informed, uhm, uh, parent informed. Or any other reason. Let’s put, uh, doctor permission here.
03:02 And, uh, of course, you can choose, uh, delayed, uh, delayed or late due to school duties. Uh, let’s leave the delay here.
03:13 Uh, you can also write some comments here. And, just like that, you have all your, uh, absences. If you click on save and submit, all your absences will be saved.
03:39 So, you can see here, with colors, that, uh, all the presences and absences are saved. You can see here that, uh, absence not saved yet.
03:55 Click here and we are ready. You see, your absences are saved. Another method is per day. Uh, you can add the number of absences per specific date, uh, that depends of, of, uh, to the school, of course, uh, the method of attendance.
04:16 In that case, you can use the date, like, lecture, uh, and class filters to show the list of students. Exactly right here.
04:27 And then you follow the steps we said before. You can also take attendance per subject, uh, you can add the number of absences for a specific subject at a specific date, uh, here you will use the filters date, lecturer, class, and, uh, unit filters to show the list and follow again the exact same steps
04:55 like here, and then the last method is based on timetable. You can add absences per student of a specific group, at a specific date, at a specific time period, and for a specific subject based on timetable entries.
05:13 Let me mention here timetable creation is mandatory with this option. In this method, you will use the date, lecturer, class, timetable categories, and periods filters to show students.
05:30 And then again, you follow the exact same steps like here. Now, let’s go to service attendance. In this section, you can record students’ absences at extracurricular activities.
05:47 Uh, you select the filters you want again from up here. Uh, For example, let’s select a date, uh, we want here.
05:58 Let’s put March 13. Uh, let’s choose chess. Uh, the educator comes automatically when we choose the service we want. And the timetable period is without timetable because we want to see, uhm, The other activities of the children.
06:18 By clicking on show, we can see the students who are enrolled at the specific service. Here we have just four students.
06:30 And now we can take presences, absences with the exact same way as before. You can also take notes like before.
06:40 You can click on present in class or online. Very easy. Then we have the attendance list. Here you can get statistics and manage students’ absences.
07:00 Use the attendance type from here, what you want to see, absent, late, or present. Let’s leave the absent. Uh, the date range, let’s put, uhm, last 30 days.
07:16 Uhm, let’s see that, uh, attendance category, let’s put sick with doctor’s permission. Uh, let’s put, uh, main attendance only and click on search.
07:38 Here we can see the students that, uh, who were absent at, uh, this, uh, date range for this reason. And here you can see more details.
07:52 About the student, uh, like, uh, the class they missed, uh, the group they are, the teacher, uh, who submitted, uh, this, uh, attendance, uh, their father and mother name, etc.
08:13 And then we In this section, you can have a variety of attendance statistics. Use the date range from here, let’s choose academic period, uh, you can choose, uh, here, The excused status, all, year, uhm, let’s put year 6, uhm, year 6b, uh, a specific subject, or if you want them all, let’s test it, look
08:50 for mathematics. And you can also select the query type from here, eh, by selecting query type, you can view absences, absence percentage, and more, eh, in, uh, whatever way you want.
09:08 suits you best. Uh, let’s choose, uhm, students attending percentage.
09:20 You can also set some filters, eh, sub absences below, above, or equal to a number you wish. For example, above 6, and click on shirts.
09:33 Here we can see, in percentage, everything. You can see the full name of the student and not excuse, the excuse, the total.
09:48 Then we can do it, uh, like that. Uh, this allows you to easily, uhm, watch all the statistics you want.
10:08 and be informed all the time. So, the Attendance tab allows you to easily take attendance, view statistics, and have a complete overview of its student substances and presences.
10:23 That was all. With these very simple procedures, you can easily monitor your student substances. Hope it was helpful. See you in the next video.
FAQ’s
Schools manage student attendance digitally through Student Information Systems (SIS) like Classter, which provide tools for tracking absences, late arrivals, and presences, all in one platform. This system ensures accurate record-keeping and real-time monitoring.
Classter offers a centralized platform where educators can record, track, and report student attendance in real-time. Its flexible attendance options and comprehensive statistics provide institutions with full control over student presence data.
Yes, Classter seamlessly integrates attendance data with other academic modules such as grading and student performance tracking, giving administrators and teachers a holistic view of student progress.

